
As a meat-loving family it has always been important to us (me really) that we eat good cuts of pork/beef and plenty of them. Second to that is the money saving factor(s) of DIY cooking, especially considering the number of kids we feed every day. But honestly not many things make me happier than to see them all scarf down my inexpensive cuts of BBQ or Broiled ribs and steaks. I have spent a day or two perfecting “the perfect steak” as the whole family calls it.
Poppy and the kids generally refuse to order a steak or ribs at a restaurant because they say that “nobody does it like you, Old-Man (dad)”. I think everyone can agree with me when I say – THAT’S A GREAT FEELING and makes it more than worth the small effort to grill (or broil).
Poppy and the kids generally refuse to order a steak or ribs at a restaurant because they say that “nobody does it like you, Old-Man (dad)”. I think everyone can agree with me when I say – THAT’S A GREAT FEELING and makes it more than worth the small effort to grill (or broil).
I have found a way to get a great rare (my family’s personal FAV!!!) to medium steak right out of the freezer. When asked to share this with the world, well I am sure you can imagine my reluctance; I’ve spent many a year on this perfect (and elusive) steak! (Shhhhhhhhh~ the irony in all this is that the perfect steak really just started by a couple of great accidents. It is the cooking part that I have worked the longest at!)
So here are the main points of the story: One - I hadn’t put out any meat for dinner so that when we returned home with the kiddo’s from an outing, I found that I had nothing thawed to feed them; AND THEY WANTED STEAK! Two - I only had Chuck Roast left in the freezer! NOPE! No rib-eyes, T-bones, Sirloins, and NO THAWED BEEF OR PORK RIB’S….. The kids (and Poppy) were like "Huh… whoa, WHAT… No steak?!?!?!?" Couldn’t let this be an EPIC FAIL NOW COULD I? Because up to this point I have been told that I have had only one major food failure “experiment” in the last decade and I wasn’t about to commit the second on that day!!! “…'Cause I’m MACHO-MAN, DUDADUDAHHHH!!! HERE I COME TO SAVE THE DAY...”! Believe me when I tell you that Miracles can happen when someone gives me a challenge and I can find some matches, duct-tape, bailing wire, a ball-point pen, and some form of fuel. Well, okay guess I am not here to bore the readers to sleep entirely so I will save the “failure story” for another day and get on with it.
Taking the word of the whole family that my food doesn’t suck, and having been asked real nice by Poppy, I have decided to share the process and even a few secrets along the way (look at the pictures closely). In this step-by-step tutorial on how to get “The Perfect Steak”, included free of charge is my personal guarantee (or your money back, LOL) that you will get phenomenal results the first time out ~ EVEN UNDER THE BROILER! (THAT, OR MY FAMILY WILL BE MADE OUT AS A BUNCH OF LIARS AND WE DON’T WANT THAT NOW DO WE!?). Alright! Now that that’s settled, I can honestly say that even the “beef-haters” will love this recipe/process. Yup! ”Beef-Haters”, I said it and you all know who you are… ~ there is another story to come (I think... ;) about our wedding dinner that my “CHICKEN ONLY” eating so-and-so and another so-and-so somehow ended up returning home with more than $300.00 dollars worth of our prime-rib meat! Story is that they never made it all the way home before pulling along a dark road and devouring it like a couple of animals… Ha-ha! Nice…RIGHT??? …Okay… SERIOUSLY… wasn’t funny! When we saw them, some years later, they brought wine so all was good, especially the BEEF! :)
Note~ I am NOT associated with the American Beef Council in any way and this is NOT an endorsement for them… or the grill manufacturer… always open to good conversation though! ;)

ONE
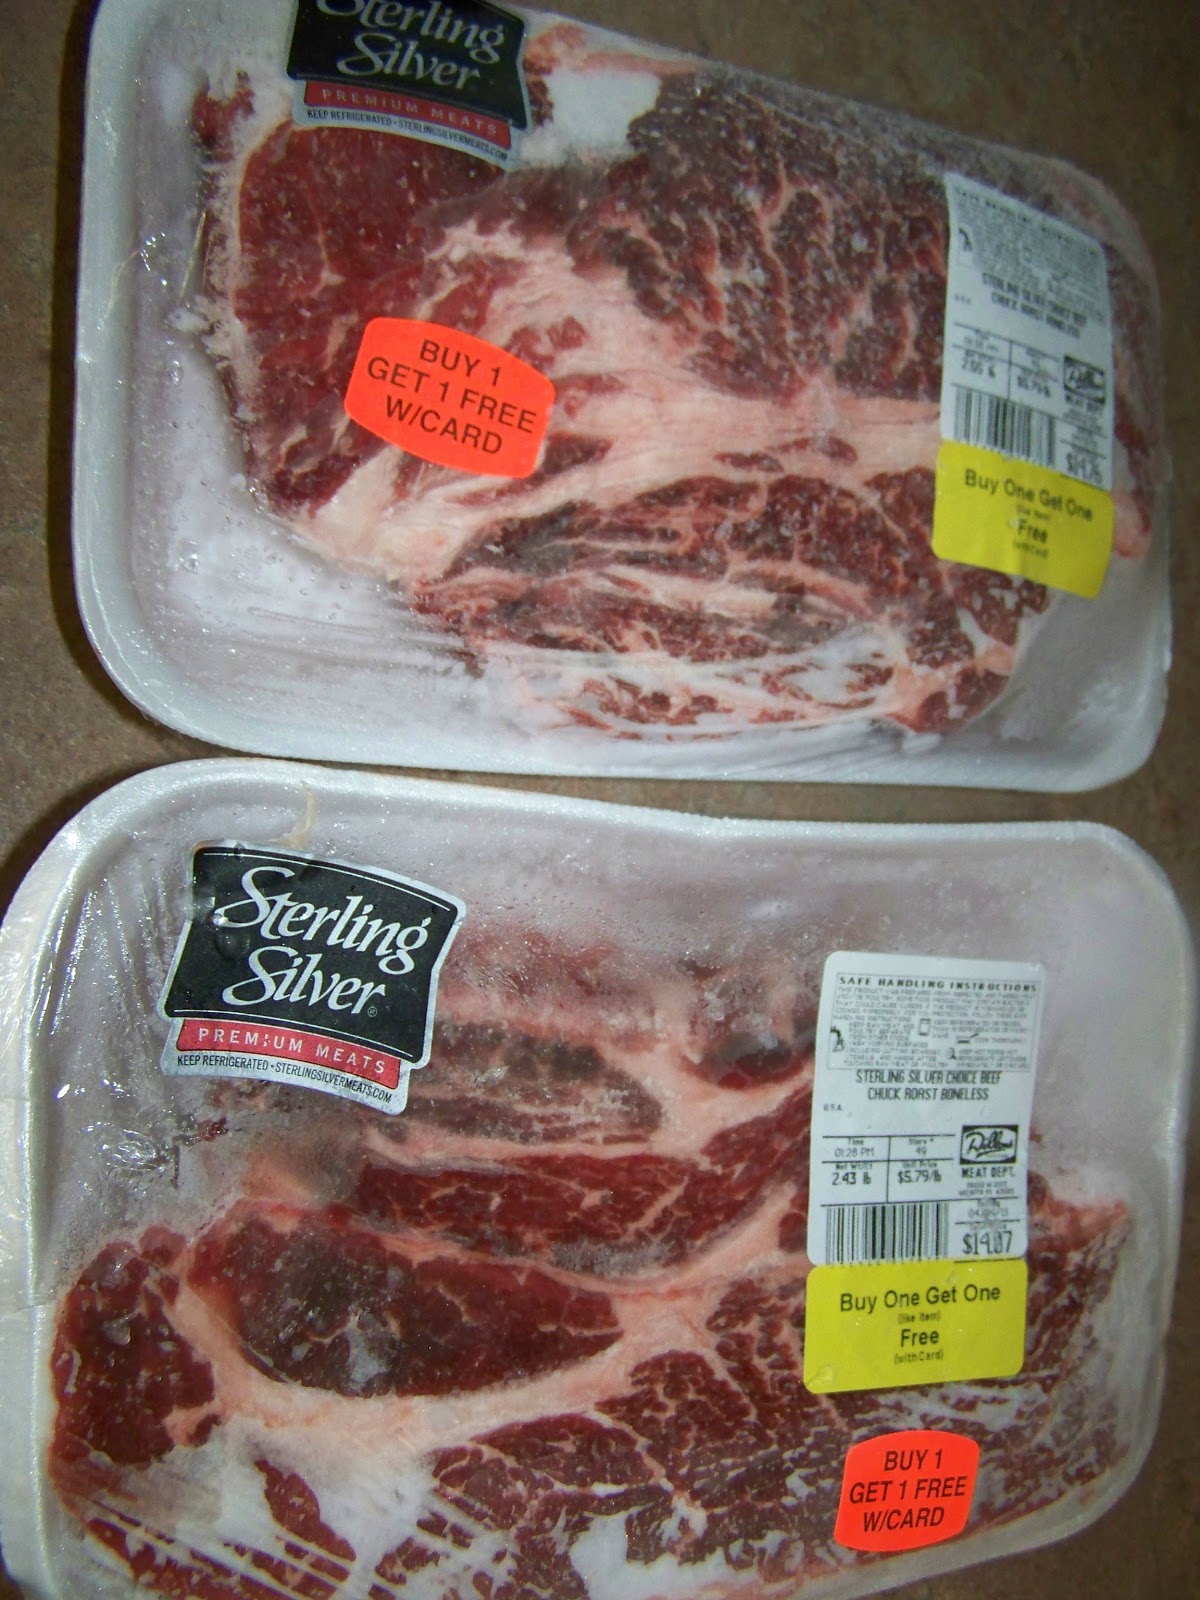
Pull the Chuck Roast "Steaks" from the freezer, 3-4 lbs can
feed 4-6 adults or hungry teens. Cost is about $3/lb when
you get two for the price of one at Dillons. The marbling makes
for great flavor without anything other than a touch of salt
and the taste & texture is oh soooo close to prime rib.
These two babies will feed eight of us as long as we
have sauteed mushrooms, baked potatoes, and some
home-made bread.
Most meat counters will cut the Chuck Roast in half for
free to give you 3/4 - 1 inch steaks if you like.

TWO
Prep top of steak(s) with light coating of table salt
or your fav spices. I use Cavender's All Purpose Greek
Seasoning VERY LIBERALLY on each side.

THREE
Remove rack and place briquets in pile.
Only use enough charcoal to create one layer of coals per steak.
Clay bricks are used for perfect heat retention and right height.
I prefer Kingsford briquets and fluid because I can get 10 BBQ's
per 13.6 lb/bag and 30 BBQ's per 64 oz. bottle of fluid.
Leave some ashes in bottom and pile briquets in center.

FOUR
Lightly squeeze bottle and go around OUTSIDE edge
of briquets with some fluid going into the ashes
(helps with ease of cleaning).
About 20 seconds or 20 slow rotations is more than enough fluid to clean the grill and cook 4-6 steaks.
DO NOT LIGHT -Let stand- go to STEP FIVE!

FIVE
Prep BOTTOM of steak(s) with light coating of table salt
or your fav spices. I use Cavender's All Purpose Greek
Seasoning very liberally and take to grill.

I SAID LIBERALLY DIDN'T I :)
I do use less when I broil these ~ as broiling makes the
seasoning go downward and into the meat better.
Our eldest daughter prefers this method BTW!
Dillons added this to their line of seasonings when I asked
so if you can't find JUST ASK!

SIX
Carefully light a briquet near top edge and place grate back
on grill. The coals will all catch fire and the fluid in the ashes
will too. This ensures no hose or kitchen sink mess as the
flames will clean and disinfect the grate.

SEVEN
Use wire brush to clean the WHOLE GRATE from each side
of the grill to keep hand/fingers out of flames.

EIGHT
Once grate is clean (will look dry in center and no meat or
"stuff" should be on the grate!!!) spread coals out to create
ONE SINGLE LAYER. Replace grate about four inches
from the bottom. I love this grill and it has served me well
for over nine years now. I can put eight full racks of ribs
on this baby to smoke and it was only $120.00!! (I paid
only $75 though by buying at the end of the summer season.)

NINE
Place meat on grill and turn every ten minutes for forty
minutes (turning total of five times).

TEN
As you can see, after just 10 minutes, the briquets are turning
white and meat is beginning to brown (not burnt) TURN.

ELEVEN
Meat seared on both sides after just 20 minutes & second turn.
HUNGRREEEE YEEET?!?!?!?

TWELVE
This is the third turn and meat will start to "bleed".
Turn once more (the fourth turn) and at 40 minutes.
Flash-Fires RARELY occur with this process but if
they do just move the coal with a spatula and the fire
goes out ~ no need for water sprayers here!

THIRTEEN
For the fifth turn, move meat to outer edges of the briquets and
begin cooking the thicker portion of the meat turning every
five minutes. For guests that desire their meat more done,
add thawed portions of steak, chicken, or hot-dog meat
to the exposed middle and cook to the desired level of
...I almost can't say it!... Well-done...ness.

Meat is browned but not burnt and should begin to separate
near the marbling.

FOURTEEN
When the larger/thicker portions begin to bleed you know you’re
cooking what used to be the frozen meat inside. Pressure fromyour spatula should result in a bouncy piece of yummy- ness.It won't be long now.... There is no need to cut the meat as you canuse the edge of the spatula to pull at the marbled areas and checkfor the desired level of pinkness.

FIFTEEN
Meat is separated at the marbling and total cook times about
1 hour and 10 minutes (freezer to plate).

Blood red and seared on the outside and cuts with a butter-knife.

What to do when it's done... EAT IT!
To add some zing I use a bit of my personal FAV ~Wasabe,
but you can use Horse-radish to get that prime-rib taste
without the prime-rib cost!


Pull the Chuck Roast "Steaks" from the freezer, 3-4 lbs can
feed 4-6 adults or hungry teens. Cost is about $3/lb when
you get two for the price of one at Dillons. The marbling makes
for great flavor without anything other than a touch of salt
and the taste & texture is oh soooo close to prime rib.
These two babies will feed eight of us as long as we
have sauteed mushrooms, baked potatoes, and some
home-made bread.
Most meat counters will cut the Chuck Roast in half for
free to give you 3/4 - 1 inch steaks if you like.

Prep top of steak(s) with light coating of table salt
or your fav spices. I use Cavender's All Purpose Greek
Seasoning VERY LIBERALLY on each side.

Remove rack and place briquets in pile.
Only use enough charcoal to create one layer of coals per steak.
Clay bricks are used for perfect heat retention and right height.
I prefer Kingsford briquets and fluid because I can get 10 BBQ's
per 13.6 lb/bag and 30 BBQ's per 64 oz. bottle of fluid.
Leave some ashes in bottom and pile briquets in center.

Lightly squeeze bottle and go around OUTSIDE edge
of briquets with some fluid going into the ashes
(helps with ease of cleaning).
About 20 seconds or 20 slow rotations is more than enough fluid to clean the grill and cook 4-6 steaks.
DO NOT LIGHT -Let stand- go to STEP FIVE!

Prep BOTTOM of steak(s) with light coating of table salt
or your fav spices. I use Cavender's All Purpose Greek
Seasoning very liberally and take to grill.

I do use less when I broil these ~ as broiling makes the
seasoning go downward and into the meat better.
Our eldest daughter prefers this method BTW!
Dillons added this to their line of seasonings when I asked
so if you can't find JUST ASK!

Carefully light a briquet near top edge and place grate back
on grill. The coals will all catch fire and the fluid in the ashes
will too. This ensures no hose or kitchen sink mess as the
flames will clean and disinfect the grate.

Use wire brush to clean the WHOLE GRATE from each side
of the grill to keep hand/fingers out of flames.

Once grate is clean (will look dry in center and no meat or
"stuff" should be on the grate!!!) spread coals out to create
ONE SINGLE LAYER. Replace grate about four inches
from the bottom. I love this grill and it has served me well
for over nine years now. I can put eight full racks of ribs
on this baby to smoke and it was only $120.00!! (I paid
only $75 though by buying at the end of the summer season.)

Place meat on grill and turn every ten minutes for forty
minutes (turning total of five times).

As you can see, after just 10 minutes, the briquets are turning
white and meat is beginning to brown (not burnt) TURN.

Meat seared on both sides after just 20 minutes & second turn.
HUNGRREEEE YEEET?!?!?!?

This is the third turn and meat will start to "bleed".
Turn once more (the fourth turn) and at 40 minutes.
Flash-Fires RARELY occur with this process but if
they do just move the coal with a spatula and the fire
goes out ~ no need for water sprayers here!

For the fifth turn, move meat to outer edges of the briquets and
begin cooking the thicker portion of the meat turning every
five minutes. For guests that desire their meat more done,
add thawed portions of steak, chicken, or hot-dog meat
to the exposed middle and cook to the desired level of
...I almost can't say it!... Well-done...ness.

near the marbling.

When the larger/thicker portions begin to bleed you know you’re
cooking what used to be the frozen meat inside. Pressure from
your spatula should result in a bouncy piece of yummy- ness.
It won't be long now.... There is no need to cut the meat as you can
use the edge of the spatula to pull at the marbled areas and check
for the desired level of pinkness.
NOTE~ Purple meat is NOT cooked enough for consumption IMHO.
Meat is separated at the marbling and total cook times about
1 hour and 10 minutes (freezer to plate).


To add some zing I use a bit of my personal FAV ~Wasabe,
but you can use Horse-radish to get that prime-rib taste
without the prime-rib cost!


No comments:
Post a Comment